✂️ Essential Tools and Materials to Start Quilling
Are you fascinated by the art of Quilling, the technique that transforms simple paper strips into detailed, three-dimensional artworks? It’s an incredibly relaxing and creative hobby! The good news is that to start, you don’t need complex or expensive equipment.
This article will guide you through the indispensable basic tools and materials for your first Quilling project, ensuring you have everything needed to start right away!
📝The Core Material: The Paper
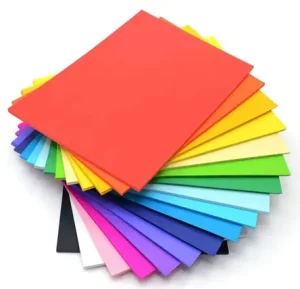
Quilling paper is the absolute star. Its quality is crucial for the success of your work.
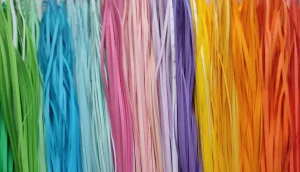
- Pre-Cut Paper Strips: These are the best choice for beginners. They come in packs with various lengths, colors, and, most importantly, widths (the most common sizes are 3mm, 5mm, or 10mm). Choosing pre-cut strips ensures uniformity, making your coils clean and consistent.
- Paper Weight (Grammage): Standard Quilling paper has a light paper weight, allowing it to be easily rolled and hold its shape.
🛠️ Essential Quilling Tools
To turn paper strips into magnificent coils, you will need a few fundamental tools.
1. The Rolling Tool (Quilling Tool)
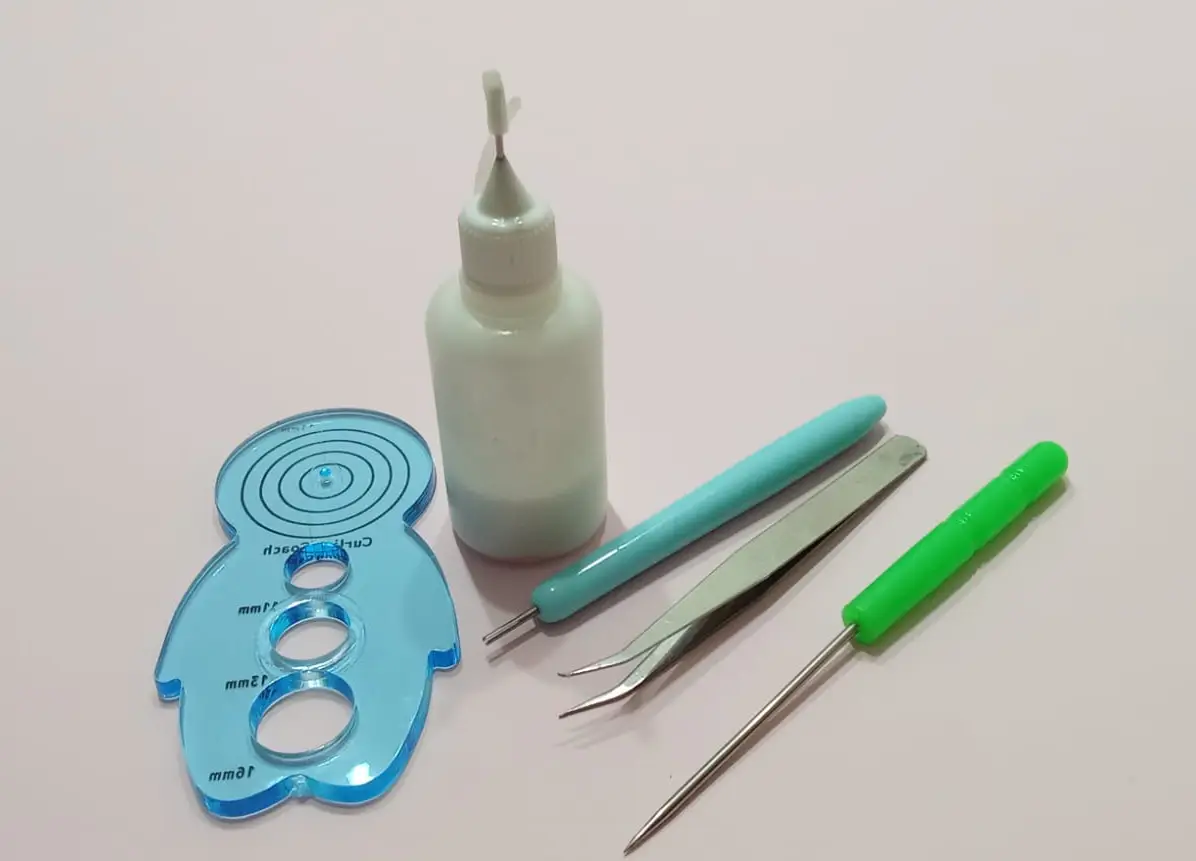
This is the most important item in your kit—the tool you will use to create the basic Quilling shapes. There are two main types:
- Slotted Tool: This is ideal for beginners. It has a small slit at the end where you insert the edge of the paper strip. It makes rolling easy and fast but leaves a tiny crease mark in the center of the coil.
- Needle Tool: This requires more practice but creates coils with a perfectly clean center, free of marks. It is preferred by more experienced quillers.
2. The Glue (Adhesive)
Glue is what holds your shapes together. Not all glues are suitable; it’s essential to choose one that is:
- Quick-Drying: Allows you to work without long waits.
- Clear (when dry): Avoids visible stains on your finished work.
- Tip: Low-water content craft glue (PVA glue) or a specific Quilling glue (with a fine-tip applicator) are the best options.
3. Tweezers (Precision Forceps)
Extremely useful for handling the small coils and placing them precisely onto your project.
- Recommended Type: Fine-tipped or curved-tip tweezers, which offer a firm grip without damaging the paper.
4. Scissors
These are mainly used to cut the strip to the desired length or to trim the work.
- Recommended Type: Small, sharp scissors, like embroidery scissors, which ensure clean, precise cuts.
📐 Additional Useful Tools for Growing Your Skills
Once you have mastered the basics, you might want to add these tools to create more complex and professional shapes:
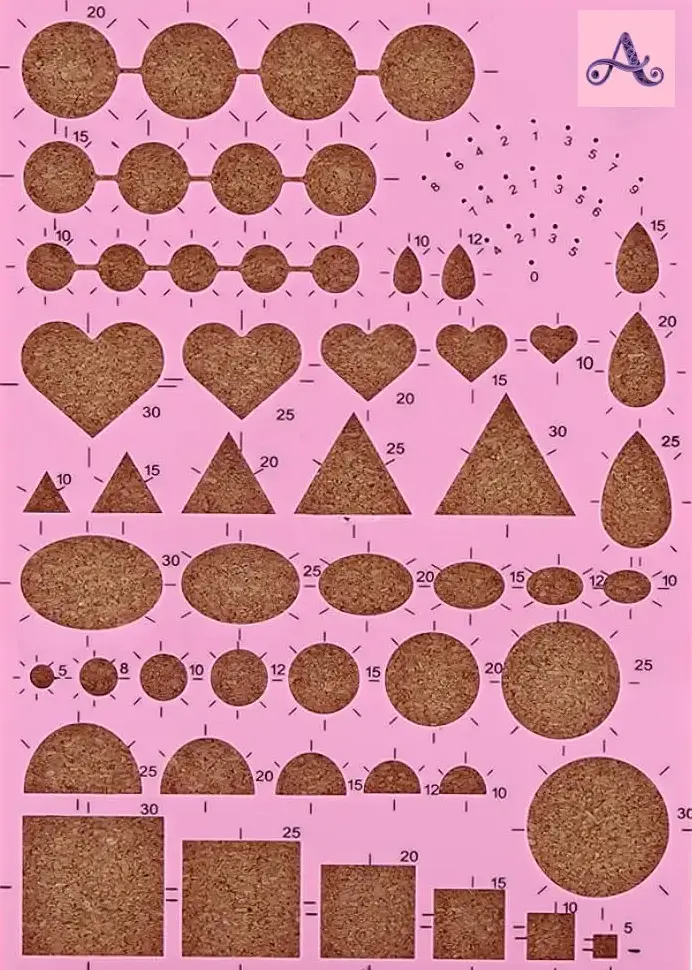
- Quilling Board (Circle Template): A plastic or cork board with holes of various sizes. It helps create uniform coils, making your work precise and symmetrical.
- Self-Healing Cutting Mat: Protects your work surface and provides a non-slip base. Very useful for precise cutting and gluing.
- Quilling Comb: Used to create elongated, oval, or square shapes by weaving the paper around the teeth. Ideal for intermediate or advanced projects.
🎯 Your Starter Checklist
Here is a quick summary of what you should buy for your starter kit:
- ✅ Quilling Paper Strips (3mm or 5mm width).
- ✅ Rolling Tool (Slotted is best to start).
- ✅ Clear PVA Glue or specific Quilling glue.
- ✅ Fine-tipped Tweezers.
- ✅ Circle Sizing Board (highly recommended).
Quilling is a wonderful art that only requires a little patience and the right materials. Start with these basic tools, and you will be able to create your first beautiful rolled paper shapes in no time!