✂️ How to Make Perfect Paper Quilling Strips (DIY or Purchased)
Quilling (or paper filigree) is a marvelous art that transforms simple strips of paper into breathtaking three-dimensional works. But before you start rolling, you need the raw material: the strips!
Making them at home can save you money and give you the freedom to use specific papers, but it requires precision. If you prefer convenience, purchasing them is the ideal solution.
Here is the complete guide to getting your perfect quilling strips.
📐 Which Sizes Should You Choose?
Professional quilling strips come in various widths, but the most common for standard projects are:
- 3 mm (approx. 1/8 inch): ideal for fine details, minute work, and miniature quilling.
- 5 mm (approx. 1/4 inch): the most popular and versatile size, suitable for most projects, from flowers to decorations.
- 10 mm (approx. 3/8 inch): perfect for creating larger elements, structural shapes, or for 3D quilling (paper sculpture), where greater solidity is needed.
Tip: use paper with a good weight (between 80 and 120 gsm) to ensure the strips maintain their shape once rolled.
🛠️ DIY Methods for Cutting Paper Strips
Making the strips at home allows you to choose unique colors, patterns, and types of paper. Here are the most effective methods.
1. The Professional Method: The Rotary Cutter or Trimmer
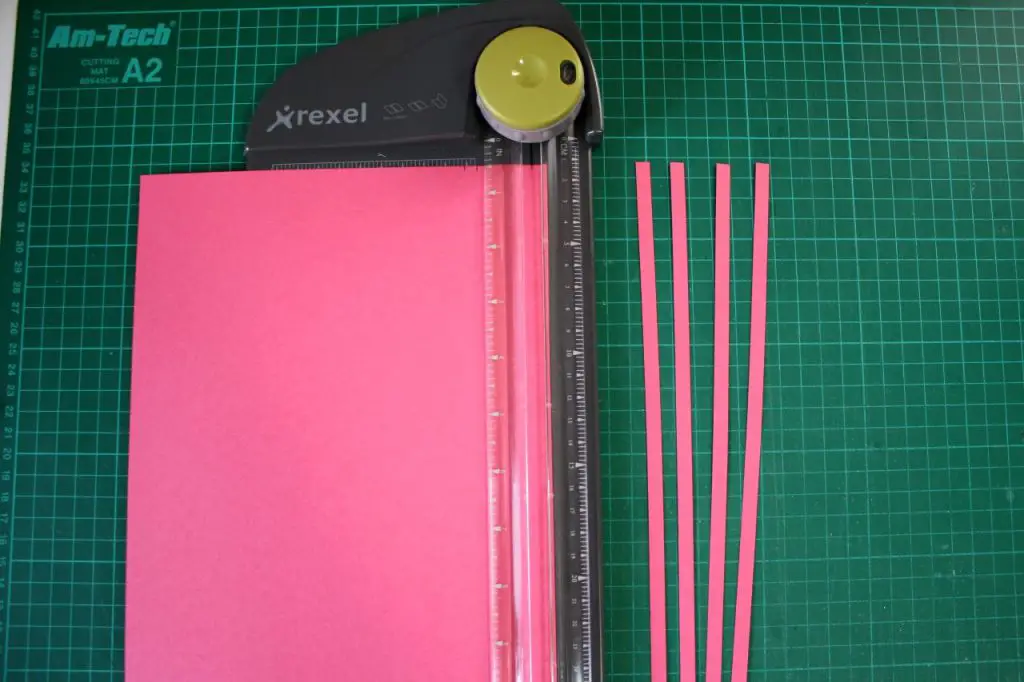
If you plan to dedicate yourself to quilling regularly, a rotary cutter (or guillotine trimmer) is your best ally.
- Advantages: guarantees straight, clean, and uniform cuts on every single strip. Allows you to cut multiple sheets at once, saving time.
- How to do it:
- Measure and mark the guidelines on the paper sheet every 3 mm, 5 mm, or 10 mm.
- Carefully align the sheet on the cutter base according to the mark.
- Slide the blade or press the guillotine to get the perfect cut.
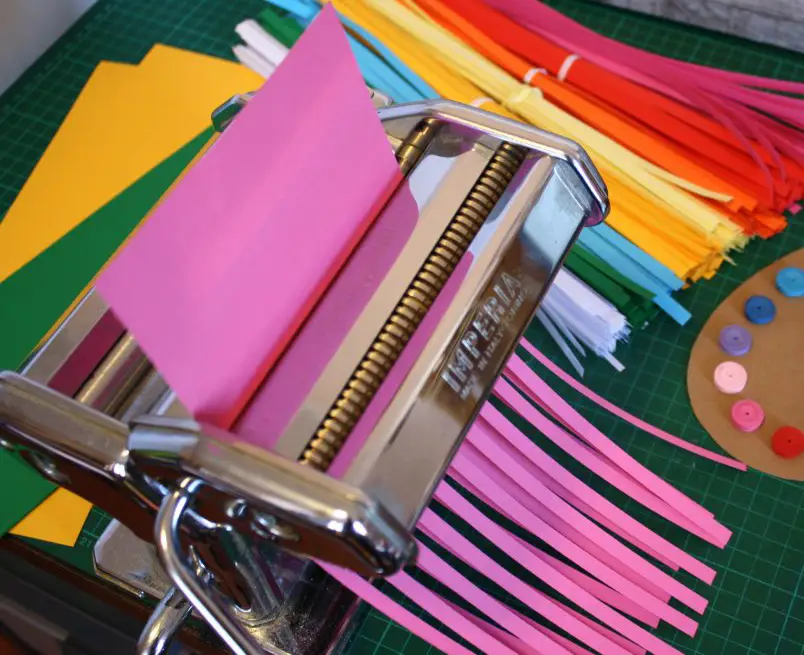
2. The Granny’s Trick: The Home Pasta Machine
This is an ingenious trick loved by many experienced quillers! The common home pasta machine (like the one used for tagliatelle or fettuccine) can be transformed into a fantastic tool for cutting paper.
- Advantages: very fast for producing large quantities of strips. Perfect for standard widths (often 5-6 mm, like tagliatelle).
- How to do it:
- Cut the sheet of paper into long strips (about 15-20 cm) that are as wide as the opening of the tagliatelle roller on your machine.
- Feed the paper strips through the tagliatelle opening. The machine will do all the work, creating uniform strips in seconds!
⚠️ Caution: Clean the machine thoroughly after use, especially if you plan to use it for food again. Paper may leave residue.
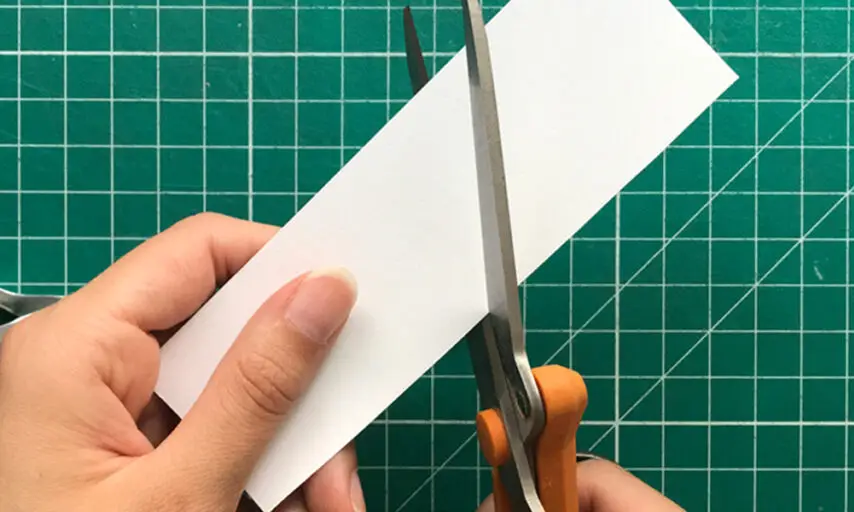
3. The Emergency Method: Cutting by Hand with Scissors (NOT RECOMMENDED)
This is the simplest method but also the least recommended, unless you only need to make a very few strips for a small detail.
- Disadvantages: it is an extremely time-consuming method, and the result is often imprecise. Non-uniform strips make rolling difficult and the final result messy.
🛒 Pre-Cut Paper Strips: The Choice of Convenience
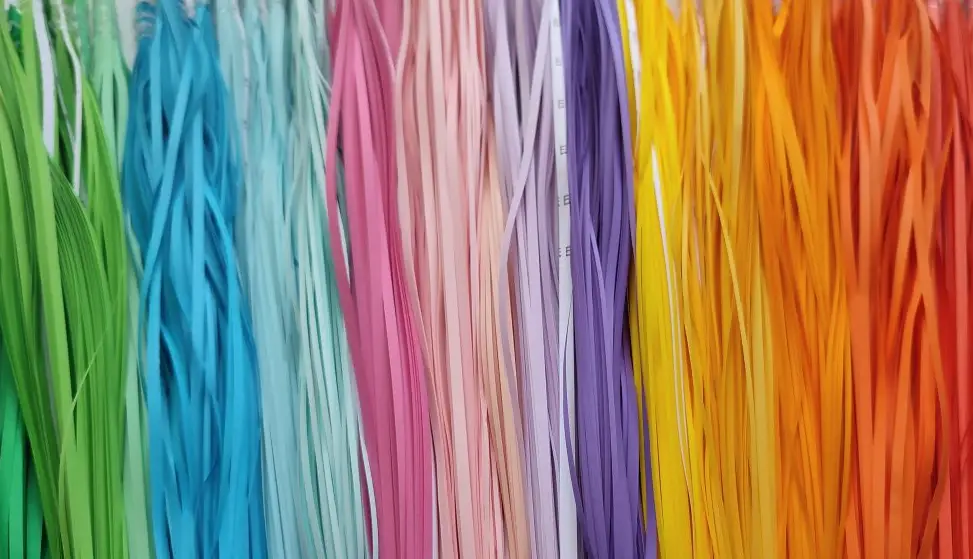
If time is precious or if you desire maximum uniformity, the best option is to purchase pre-cut and packaged quilling strips.
- Advantages:
- Quality and Uniformity: the strips are cut with professional machinery, guaranteeing maximum precision.
- Wide Selection: they are available in multi-color sets, specific color gradations, metallic, pearlescent effects, and extra-long formats (up to 60 cm), ideal for large projects.
- Practicality: open the package and you are immediately ready to create.
Which one is your favorite? Share your thoughts in the comments!