How to Choose the Best Cardstock for Your Projects
Have you ever wondered why your quilling flowers won’t stay upright or why your coils look “mushy”? The answer almost always comes down to one thing: paper weight.
Quilling (or paper filigree) isn’t just about rolling strips; it’s about choosing the right “backbone” for your art. Using standard printer paper versus a sturdy cardstock completely changes the final result. In this guide, we’ll break down the best paper weights and when to use them to achieve professional results.
Why Does Paper Weight Matter in Quilling?
Paper weight is measured in GSM (Grams per Square Meter). In the world of quilling, this value determines:
- Ease of Coiling: The lighter the paper, the easier it is to create tight, tiny circles.
- Shape Retention: Heavier paper resists pressure better and “remembers” its folds and curves.
- Visual Impact: Thicker cardstock creates deeper shadows and sharper, more defined outlines.
The Ideal Weights: A Practical Guide
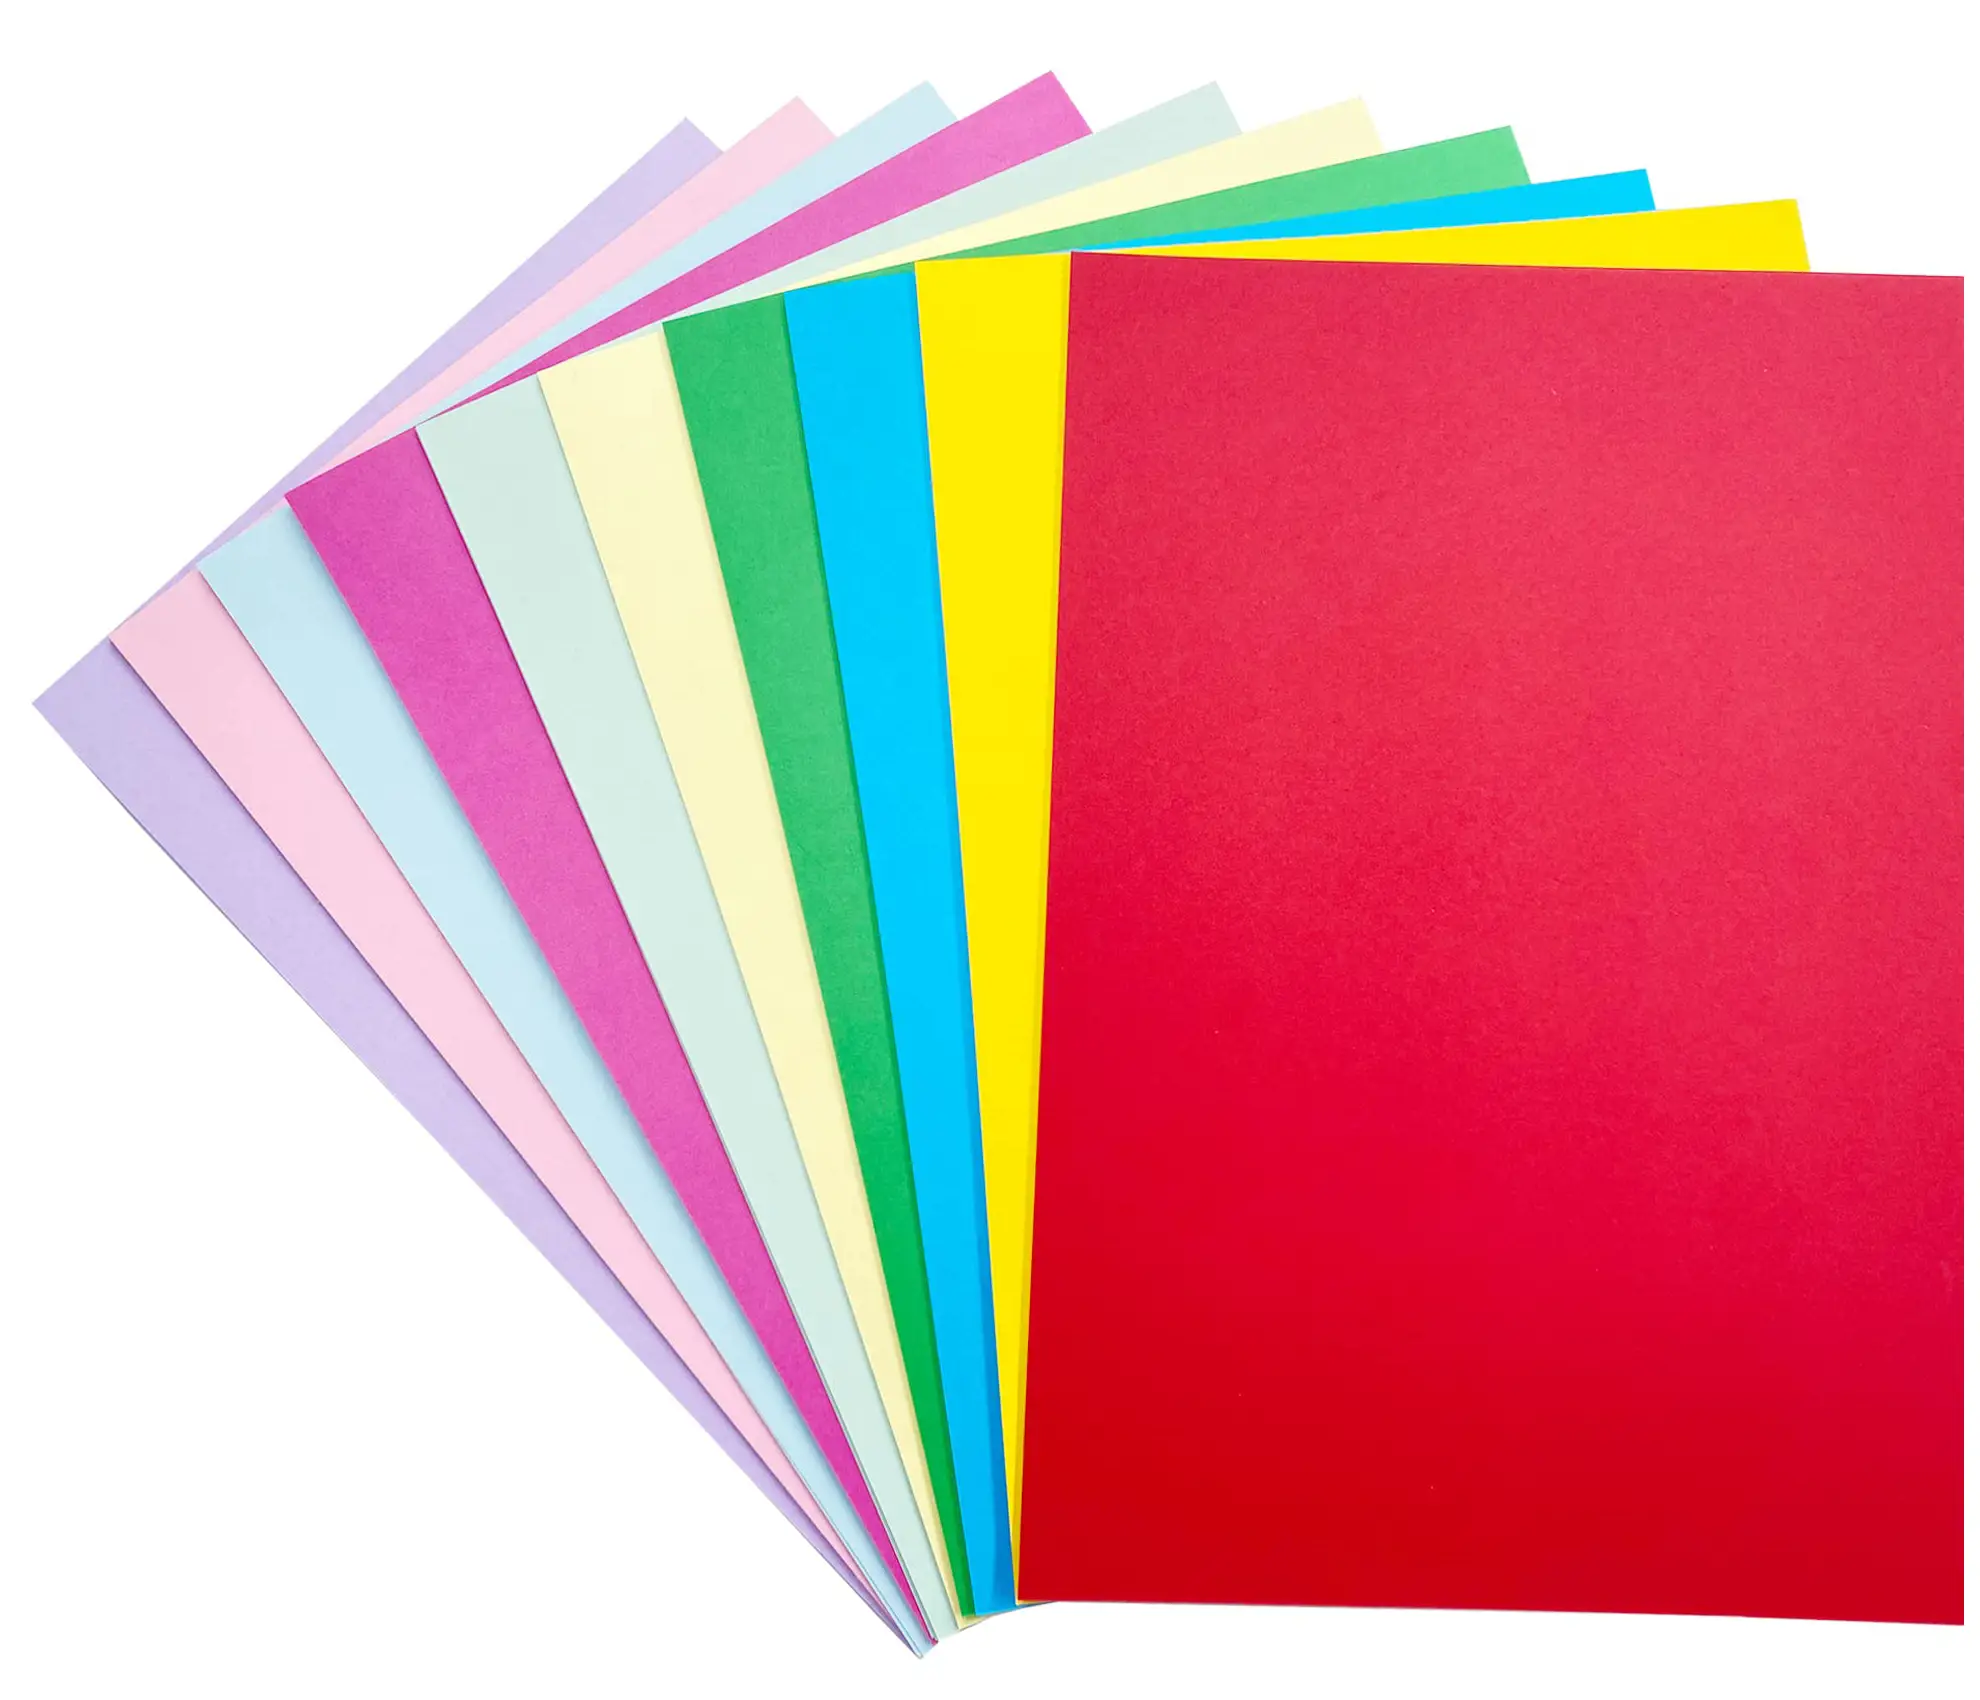
There is no “perfect” paper for everything, but there is a right weight for every technique. Here is how to choose:
1. Light Weight (80gsm – 100gsm)
This is the weight of standard office or copy paper.
- Best for: Beginners who need a lot of practice and projects involving very tight, miniature coils.
- Pros: Very easy to manipulate; doesn’t tire your fingers.
- Cons: Very fragile. If you use too much glue, the paper will warp or become soggy easily.
2. Medium Weight (110gsm – 160gsm) – The “Sweet Spot”
This is the go-to choice for most professional quillers.
- Best for: Flower petals, detailed fillers, and greeting card decorations.
- Pros: Offers the perfect balance between flexibility and durability. It holds its shape beautifully without being too difficult to roll.
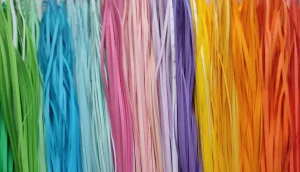
- Note: Most high-quality pre-cut quilling strips fall into this range (usually around 120gsm/130gsm).
3. Heavy Weight (180gsm – 220gsm)
Now we’re talking about structural integrity.
- Best for: The “Beehive” technique or creating outlines (edging) for a design.
- Pros: Extremely sturdy. If you want to create typography or a contoured border that stays perfectly straight, this is your weight.
- Cons: Difficult to roll into small circles; it tends to “crack” or create sharp creases instead of smooth curves.
Quick Reference Table: Which Paper for Which Task?
| Project Type | Recommended Weight | Resulting Effect |
| Intricate Fillers | 80gsm – 100gsm | Delicacy and precision |
| 3D Flowers & Shapes | 120gsm – 150gsm | Volume and stability |
| Outlines & Lettering | 200gsm – 250gsm | Structure and clean lines |
| Quilled Jewelry | 130gsm – 160gsm | Durability after sealing |
Pro Tip: Check the “Core” of Your Paper!
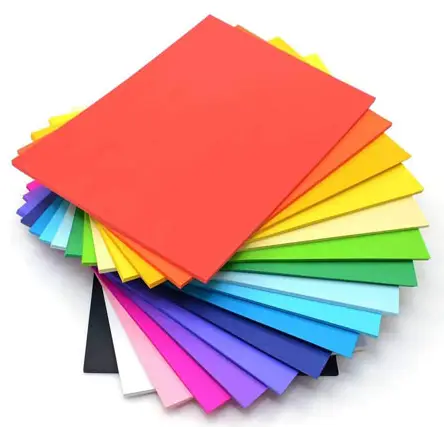
When choosing cardstock, make sure it is solid-core (color-through). What does this mean? It means the color goes all the way through the paper. Some cheap cardstocks are only “white-core” (printed on the surface). When you roll them, you’ll see an ugly white edge that ruins the professional look of your work.
Tip: When shopping online, look for terms like “Acid-free” or “Lignin-free.” This ensures your artwork won’t turn yellow or brittle over the years!
Conclusion
Experimentation is key. If you are just starting out, a set of 120gsm strips is the best investment you can make. It allows you to master the technique without the frustration of paper that is too thin or too stiff.