Elevating Your Craft from Hobbyist to Master
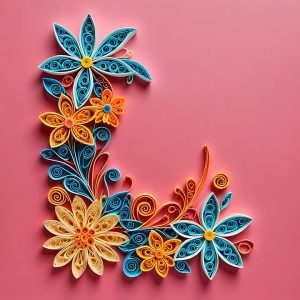
Quilling, or the art of paper filigree, is a discipline that rewards patience and extreme precision. If you have already mastered the tight coil, the teardrop, and the square, you are ready for the next level. To transform a simple decoration into a three-dimensional, dynamic work of art, you must explore techniques that challenge both gravity and geometry.
In this article, we will analyze the advanced quilling shapes every expert must know to create realistic and structurally complex compositions.
1. The Huskings Technique (Fan Quilling)
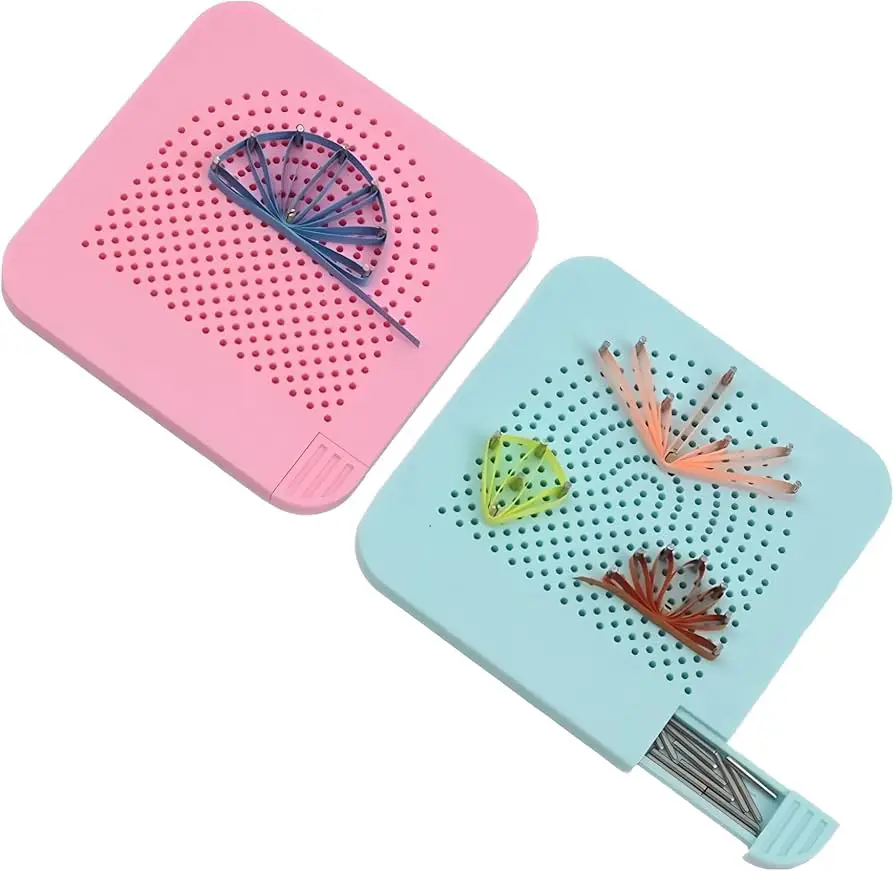
Unlike traditional rolled shapes, the Huskings technique relies on using pins on a corkboard to create loops and petals in a “radiating” structure.
- Why use it: it allows for the creation of perfectly symmetrical, airy shapes—ideal for botanically accurate flowers.
- Expert Secret: Apply a tiny dot of glue at every point where the loops touch. This ensures the shape maintains its tension once removed from the pins.
2. 3D Quilling: Creating Volume and Domes
While traditional quilling is flat, advanced shapes embrace the third dimension. By using a quilling coach or dome molds, you can transform a tight coil into a hollow hemisphere.
- The Application: This technique is essential for creating the bodies of animals, miniatures, or the centers of exotic flowers.
- Pro Tip: Once the dome is shaped, apply a thin layer of PVA glue to the inside. This “sets” the shape and prevents the “spring effect” (where the paper tries to flatten back out).
3. The “Beehive” Technique
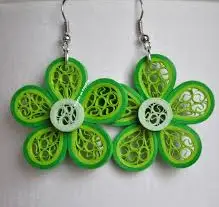
Beehive quilling is a filler technique that has revolutionized modern filigree. Instead of rolling individual strips into rigid shapes, you create small, loose coils nested within a larger outline without a strict geometric order.
- Visual Effect: It creates an organic, dense texture similar to fine embroidery or lace.
- Insight: Many users search for “modern quilling” or “quilling fillers”; the Beehive technique is the perfect answer for those seeking a less schematic, more contemporary aesthetic.
4. Eccentric Circles
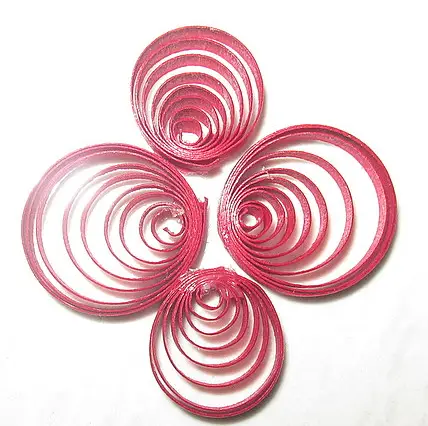
This is one of the most elegant and technically demanding shapes. It involves a loose coil where all the internal rings are pushed and glued toward a single side.
- How to Master It: It requires precision tweezers to guide the spirals toward the edge before the glue sets.
- Best Use: Perfect for creating bird wings or flower petals that require a sense of movement and natural direction.
Essential Tools for Advanced Levels
To execute these shapes, basic tools are no longer enough. An expert’s kit should include:
- Ultra-fine Slotted Tools: To minimize the center hole (the “eye”) of the coil.
- Quilling Comb: Essential for the Wheatear (wheat stalk) technique.
- Huskings Board: Featuring a millimeter grid for absolute precision in spacing.
Conclusion: Practice is Your Best Ally
The transition from basic to advanced quilling isn’t just about manual dexterity; it’s about understanding paper tension. Different paper weights and brands react differently to curls and humidity—learning how your material responds is what defines a professional.
Want to dive deeper into one of these techniques? If you’d like a step-by-step guide on the Huskings technique or how to structure a complex 3D project, let me know in the comments!