🌸 How to Create a Spring Quilling Flower
Quilling (also known as paper filigree) is a fascinating creative technique that allows you to make elegant decorations using thin, rolled strips of paper. In this tutorial, you will discover how to create a vibrant quilling flower perfect for the spring season—ideal for greeting cards, home decor, or DIY projects.
🌼 Materials Needed
Before you start crafting your quilling flower, it’s important to gather your supplies. Fortunately, these materials are simple and easy to find, making this project perfect for beginners who want to try a new hobby without a huge investment.
- Quilling paper strips: (Preferably in spring colors like pink, yellow, and green).
- Quilling slot tool: Or a simple toothpick.
- White craft glue: (PVA glue works best).
- Tweezers: (Optional, but very helpful for precision details).
- Cardstock base: Where you will glue your final design.
✂️ Step-by-Step Instructions
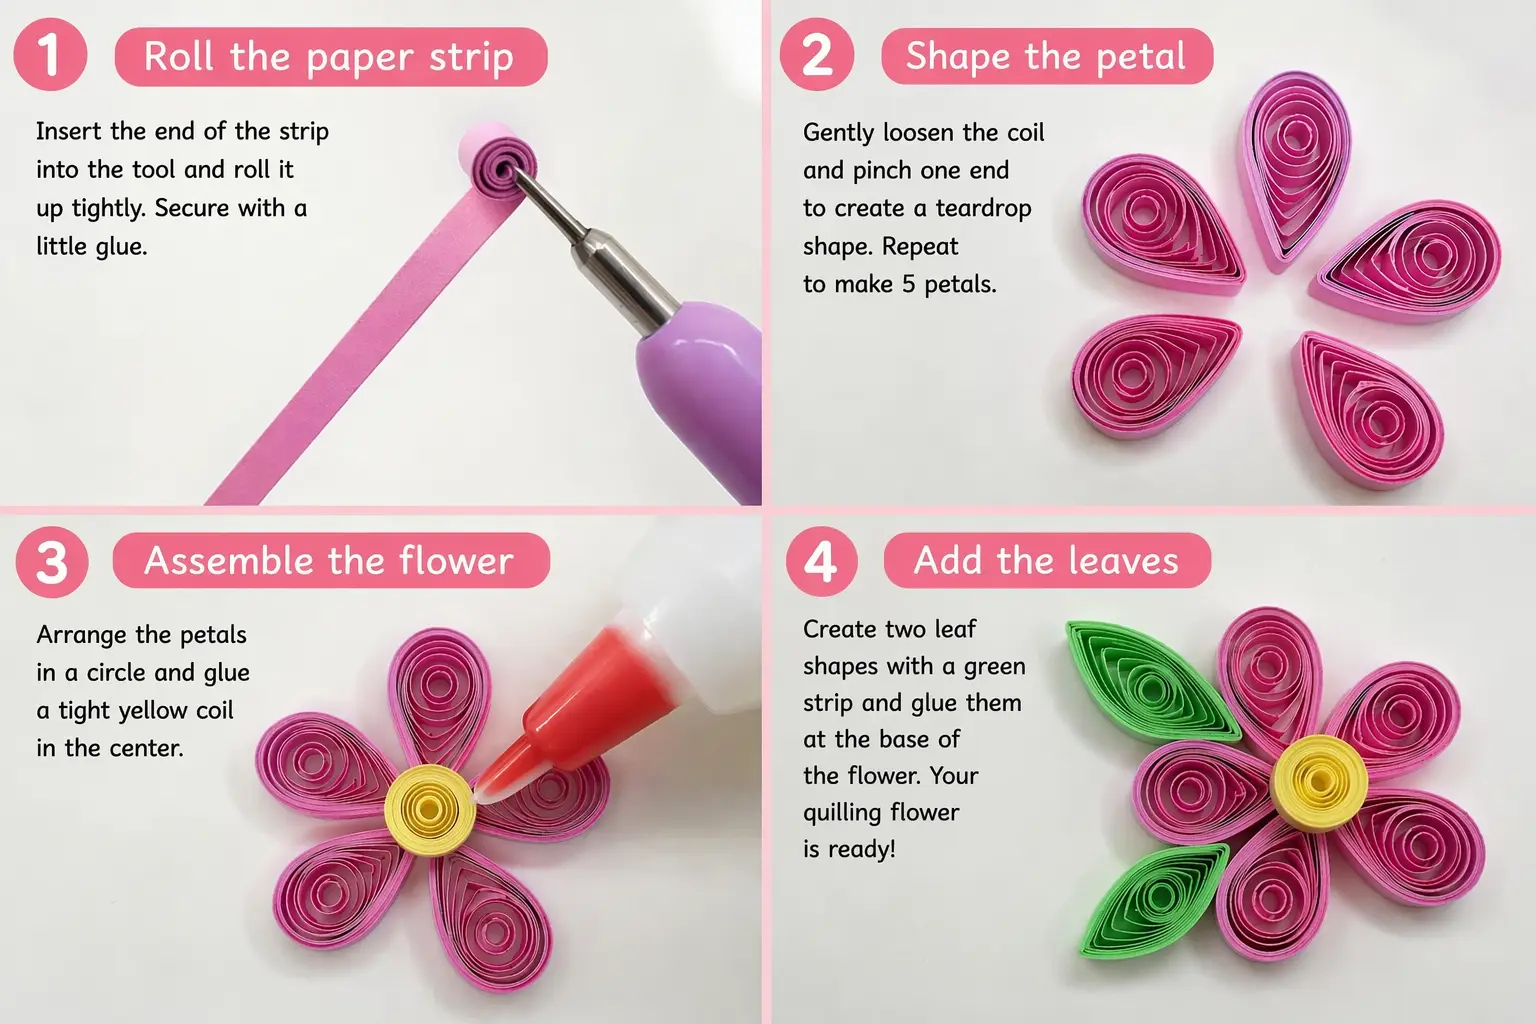
By following these simple steps, you can create your quilling flower in a relaxed and easy way. Each phase is designed to guide you gradually, even if it’s your first time, until you achieve a harmonious and spring-like result.
1. Create the petals
- Take a strip of colored paper.
- Roll it tightly using your quilling tool.
- Gently let the coil expand slightly.
- Pinch one side of the coil to create a teardrop shape (your petal).
- 👉 Repeat this process for 5–6 petals.
2. Make the flower center
- Use a yellow paper strip.
- Roll it into a tight coil without letting it loosen.
- Secure the end with a small drop of glue.
3. Assemble the flower
- Arrange the petals in a circle on your cardstock.
- Glue the yellow center right on top of the point where the petals meet.
- Press down gently for a few seconds to ensure it stays in place.
4. Add the leaves
- Use green paper strips.
- Create teardrop shapes or “eye” shapes (by pinching both ends of the coil).
- Glue them at the base of the flower.
🎨 Tips for a Spring Effect
To achieve a true spring-inspired look for your quilling flower, color choice is key. Prioritize bright, fresh tones like pink, peach, yellow, and light green, which immediately evoke blooming nature.
You can also combine different shades of the same color to create depth and a more realistic look. A pro tip: use paper with a satin or slightly glossy finish to reflect light better, giving your composition an extra touch of delicacy and shine.
💡 Creative Ideas
The quilling flower you’ve just created is a very versatile decorative element:
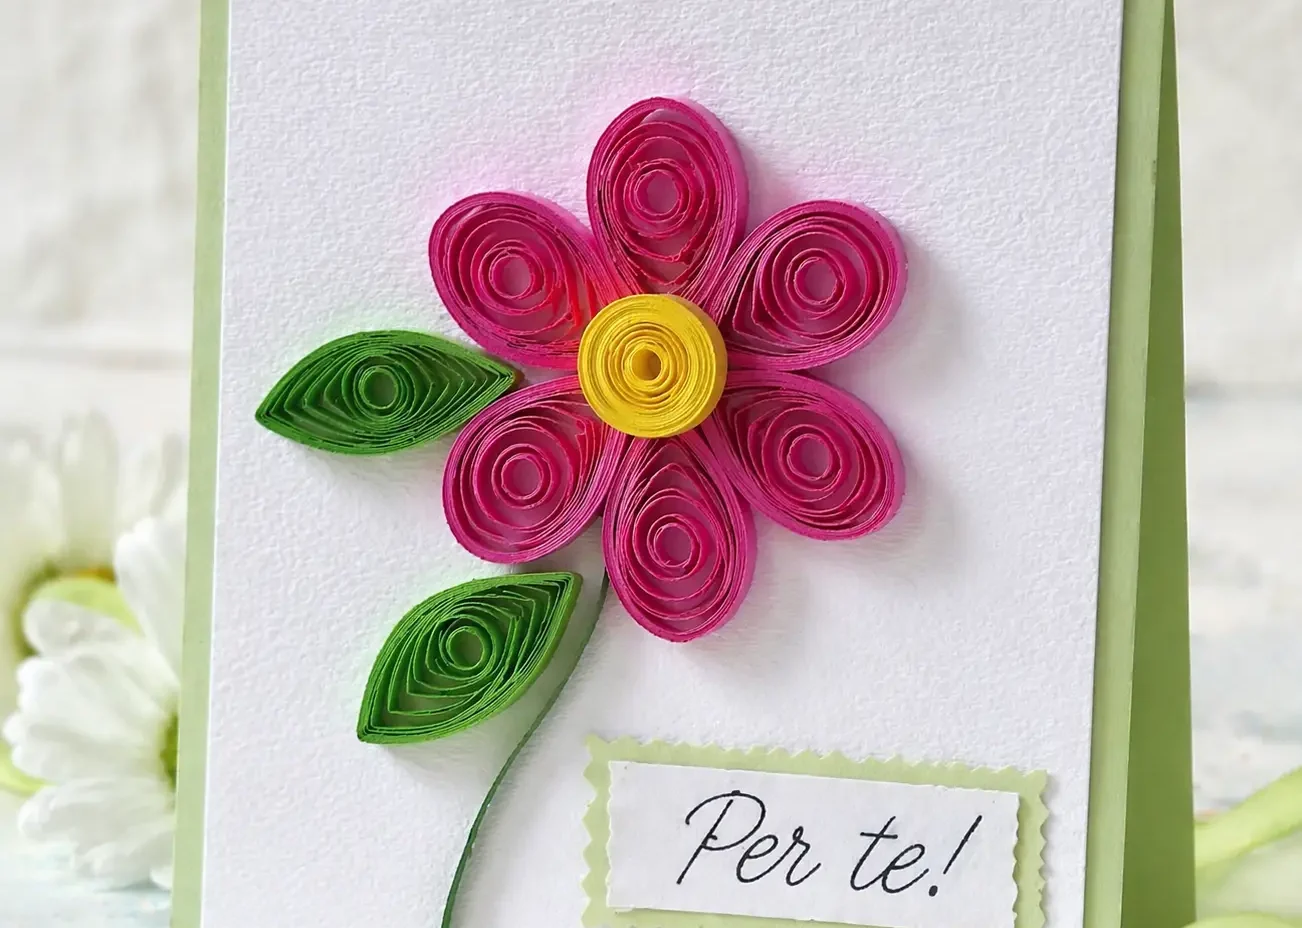
- Greeting Cards: Add a 3D, handcrafted touch to your messages.
- Decorative Wall Art: Create a paper garden to brighten up any corner of your home.
- Invitations and Bookmarks: A unique detail that won’t go unnoticed.
- Gift Packaging: Replace standard ribbons with a flower handmade by you.
🌷 Conclusion
Creating a quilling flower is simple, relaxing, and the perfect way to welcome spring with creativity. Even as a beginner, you can achieve amazing results with just a few materials!
✨ Have you ever tried quilling before? Share your creations with us and let us know how your first flower turned out!