A Step-by-Step Tutorial Shadow Box
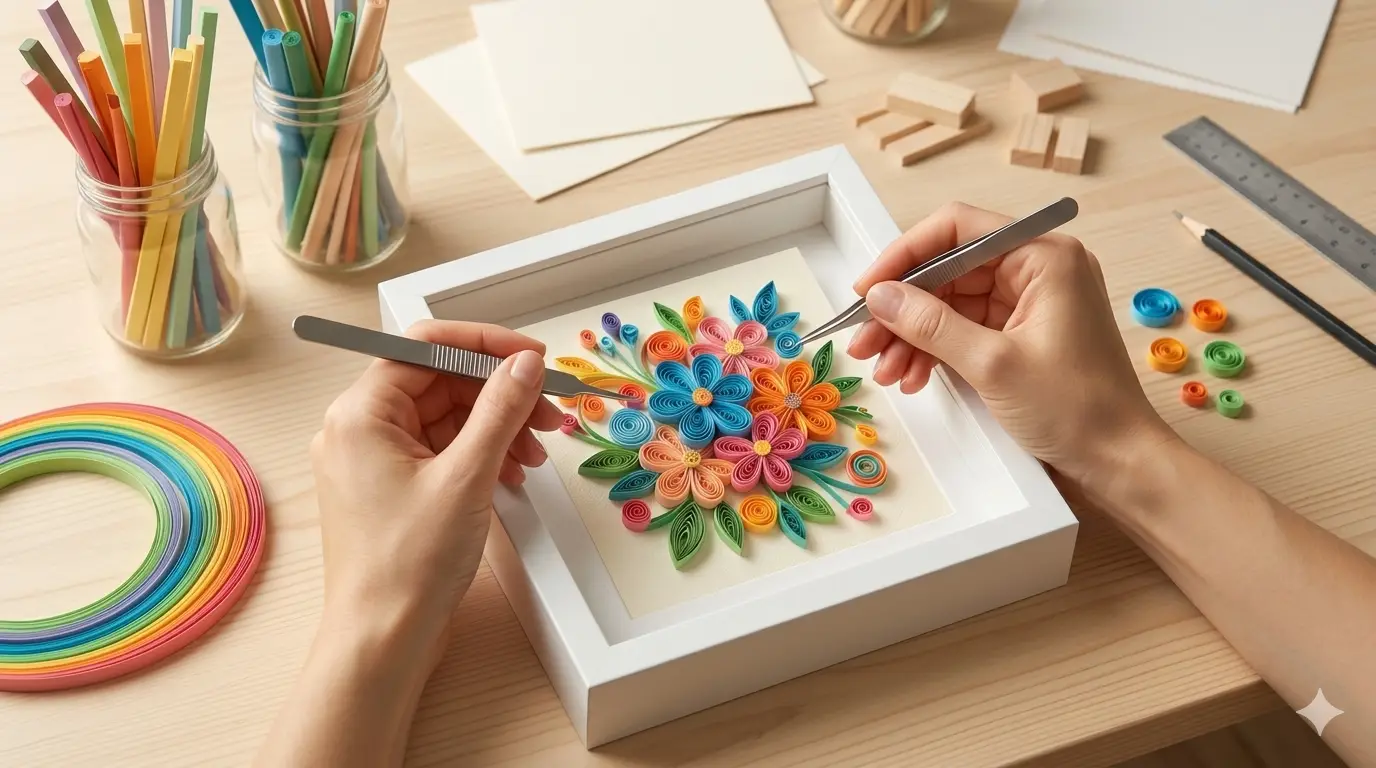
Have you just finished a stunning paper quilling project and want to show it off? A standard photo frame won’t do—the glass would crush your delicate work. The best way to display and protect your art is a shadow box frame.
In this guide, we’ll walk you through how to create the perfect display for your quilling crafts, ensuring every paper coil and 3D detail stands out beautifully.
Why Use a Shadow Box for Quilling Art?
Quilling is all about depth and texture. Using a deep-set frame (shadow box) is essential for several reasons:
- Protection: It keeps dust and moisture away from your paper strips, which are notoriously hard to clean.
- Visual Depth: The space between the glass and the background enhances the natural shadows of the paper coils.
- Professional Look: It transforms a simple craft into a high-end piece of home decor or a thoughtful handmade gift.
What You’ll Need
Before starting this quilling tutorial, gather the following supplies:
- Shadow Box Frame: You can buy a “ready-to-go” deep frame (like the IKEA Ribba series) or DIY one.
- Heavy Cardstock: For the background (at least $200g/m^2$ or 110lb cover).
- Precision Glue: Acid-free white glue with a fine-tip applicator.
- Spacers: Foam board strips or wooden slats (if you are converting a standard frame).
- Quilling Tweezers: To position your art without damaging the edges.
Step-by-Step Assembly Guide
1. Prepare the Background
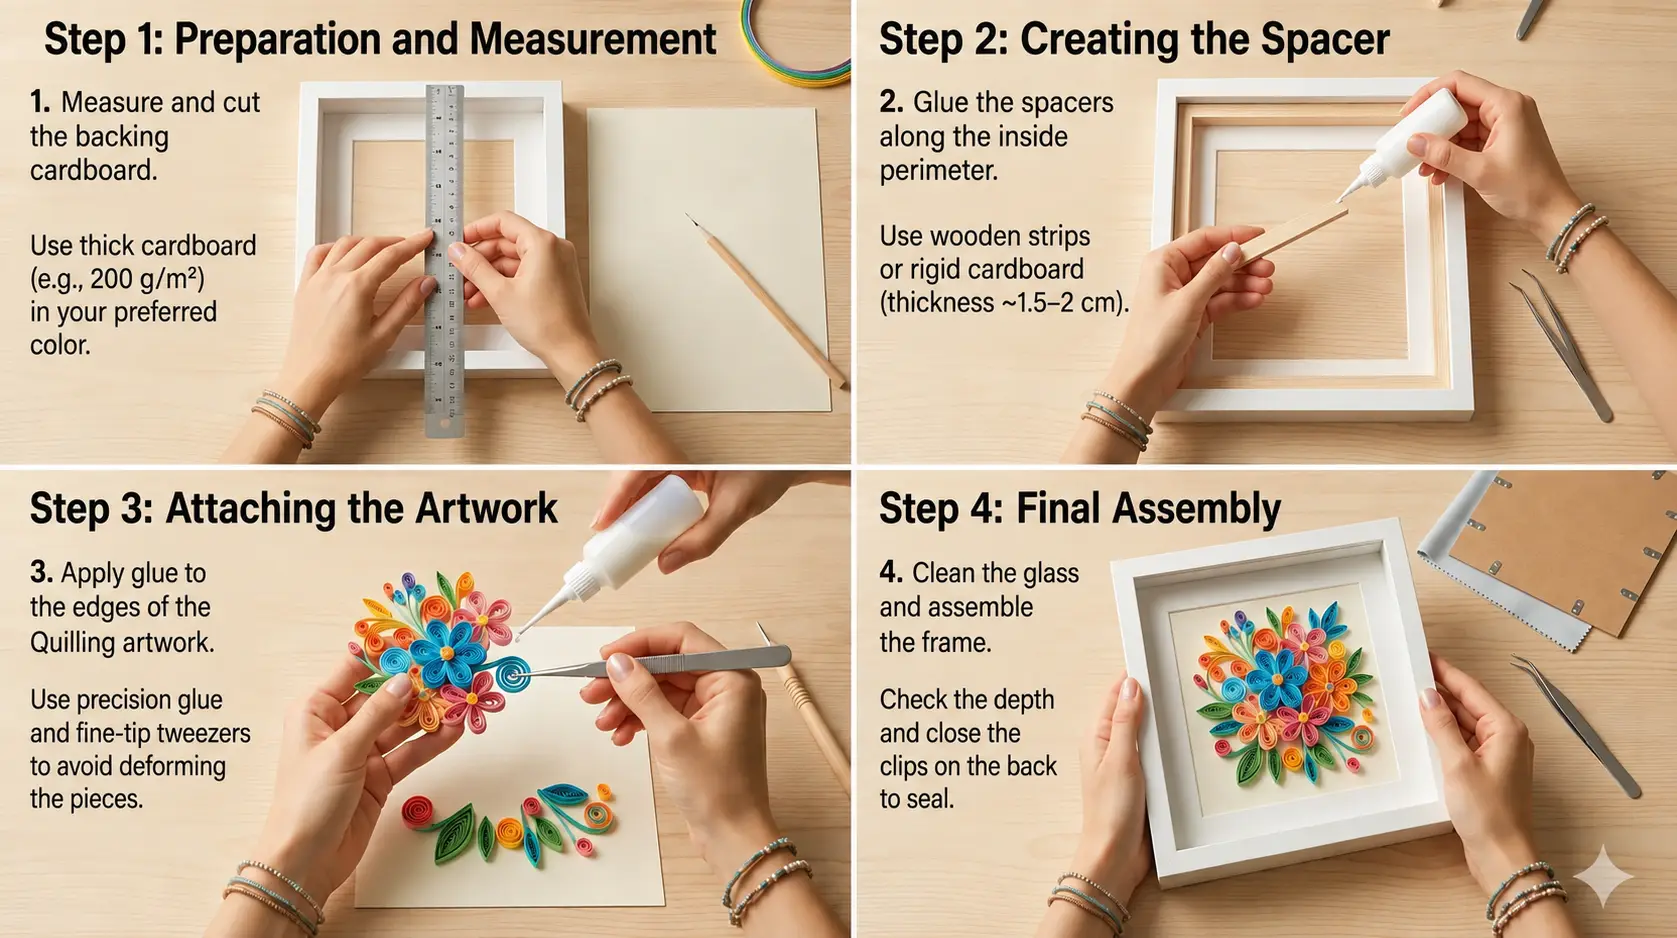
Measure the internal dimensions of your frame and cut your cardstock to fit perfectly.
Design Tip: Choose a background color that contrasts with your quilling. Neutral tones like cream or light gray make vibrant colors pop, while dark backgrounds create a dramatic effect.
2. Creating the “Shadow” Space
If you aren’t using a pre-made shadow box, you’ll need to create a “spacer.” Glue strips of foam board or wood (about 0.5 to 1 inch thick) along the inside edges of the frame. This keeps the glass away from your paper art.
3. Securing Your Quilling Art
Apply tiny dots of glue to the back of your quilled piece.
- Pro Tip: Use a toothpick to apply glue only to the bottom edges of the paper strips. Don’t use too much, or the moisture might cause the background cardstock to warp.
4. Final Assembly
Clean the inside of the glass thoroughly—once it’s sealed, you won’t be able to reach it! Place the spacers, insert your mounted quilling piece, and secure the back of the frame.
Conclusion
Making a DIY shadow box for quilling is the final touch that turns a hobby into a masterpiece. It protects your hard work and makes it ready for display or sale.
Have you tried framing your quilled art yet? Let us know your favorite color combinations in the comments below!